Hi everyone! I hope you're all doing well :)
Today I'm going to show you how to perfectly blend your eyeshadow to give a flawless gradient. Blending is one of the most important things about makeup, it helps your makeup to look flawless and effortless.
Before we get started make sure you have a soft fluffy blending brush, it will easily distribute and soften the color. It also might be nice to have at least two sizes, one big and one smaller, so the colors don't mix together and look muddy. I only had one size but it still worked because it wasn't too big.
 |
| Joe Fresh pressed powder in Medium 3, Yves Rocher blending brush |
Grab a really warm brown to off with, this is going to be the lightest shade that we will be applying to the crease.
Take your big fluffy blending brush to blend this shade softly in to the crease. You want the color to look really soft and natural, so keep blending until you get that airbrushed effect. Using a warm brown as a blending/transition color will make any look that you decide to rock that day wearable.
 |
| Left to right:Maybelline Mineral Power bronzer, Maybelline quad in Designer Chocolates, Yves Rocher blending brush |

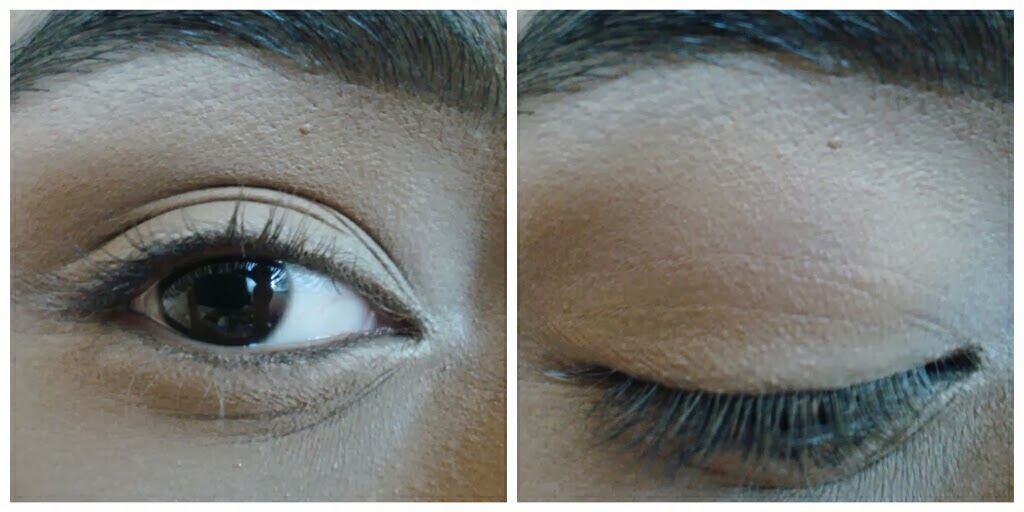
Take your smaller blending brush (if you have one) and apply this shade deeper into the crease, so between the first color and your lid. I'm not sure if you can see a difference between the first and second picture because the light washes out the colors, but I hope you understand what I'm trying to say :).
 |
| Wet'nWild trio in Knock on Wood, Yves Rocher Blending brush |
If you don't have enough room on your lids then you can stop right there and apply your lid shade, finish off the rest of your eyes and you're done!

 |
| Wet'nWild palette in Greed (black shade and highlight), Brush from Lidy Makeup color |

 |
| Left to right:Essence liquid eyeliner, L'oreal False Fibre Lashes mascara, Revlon Growluscios eyeliner in Espresso, Yves Rocher waterproof eyeliner in Teal |

On my face:
 |
Left to right:Forever 21 natural eyeshadow palete (highlight), Maybelline mineral power bronzer (contour), Wet'nWild blush in Pearlescent Pink, Dolci Baci lip jam in mango
I really hope that you found this post helpful, it is my first post so if there are any mistakes, sorry! Anyways, thanks for taking the time to read this post, I really appreciate it.
If you liked this post feel free to share it with your friends :)
God Bless
|